
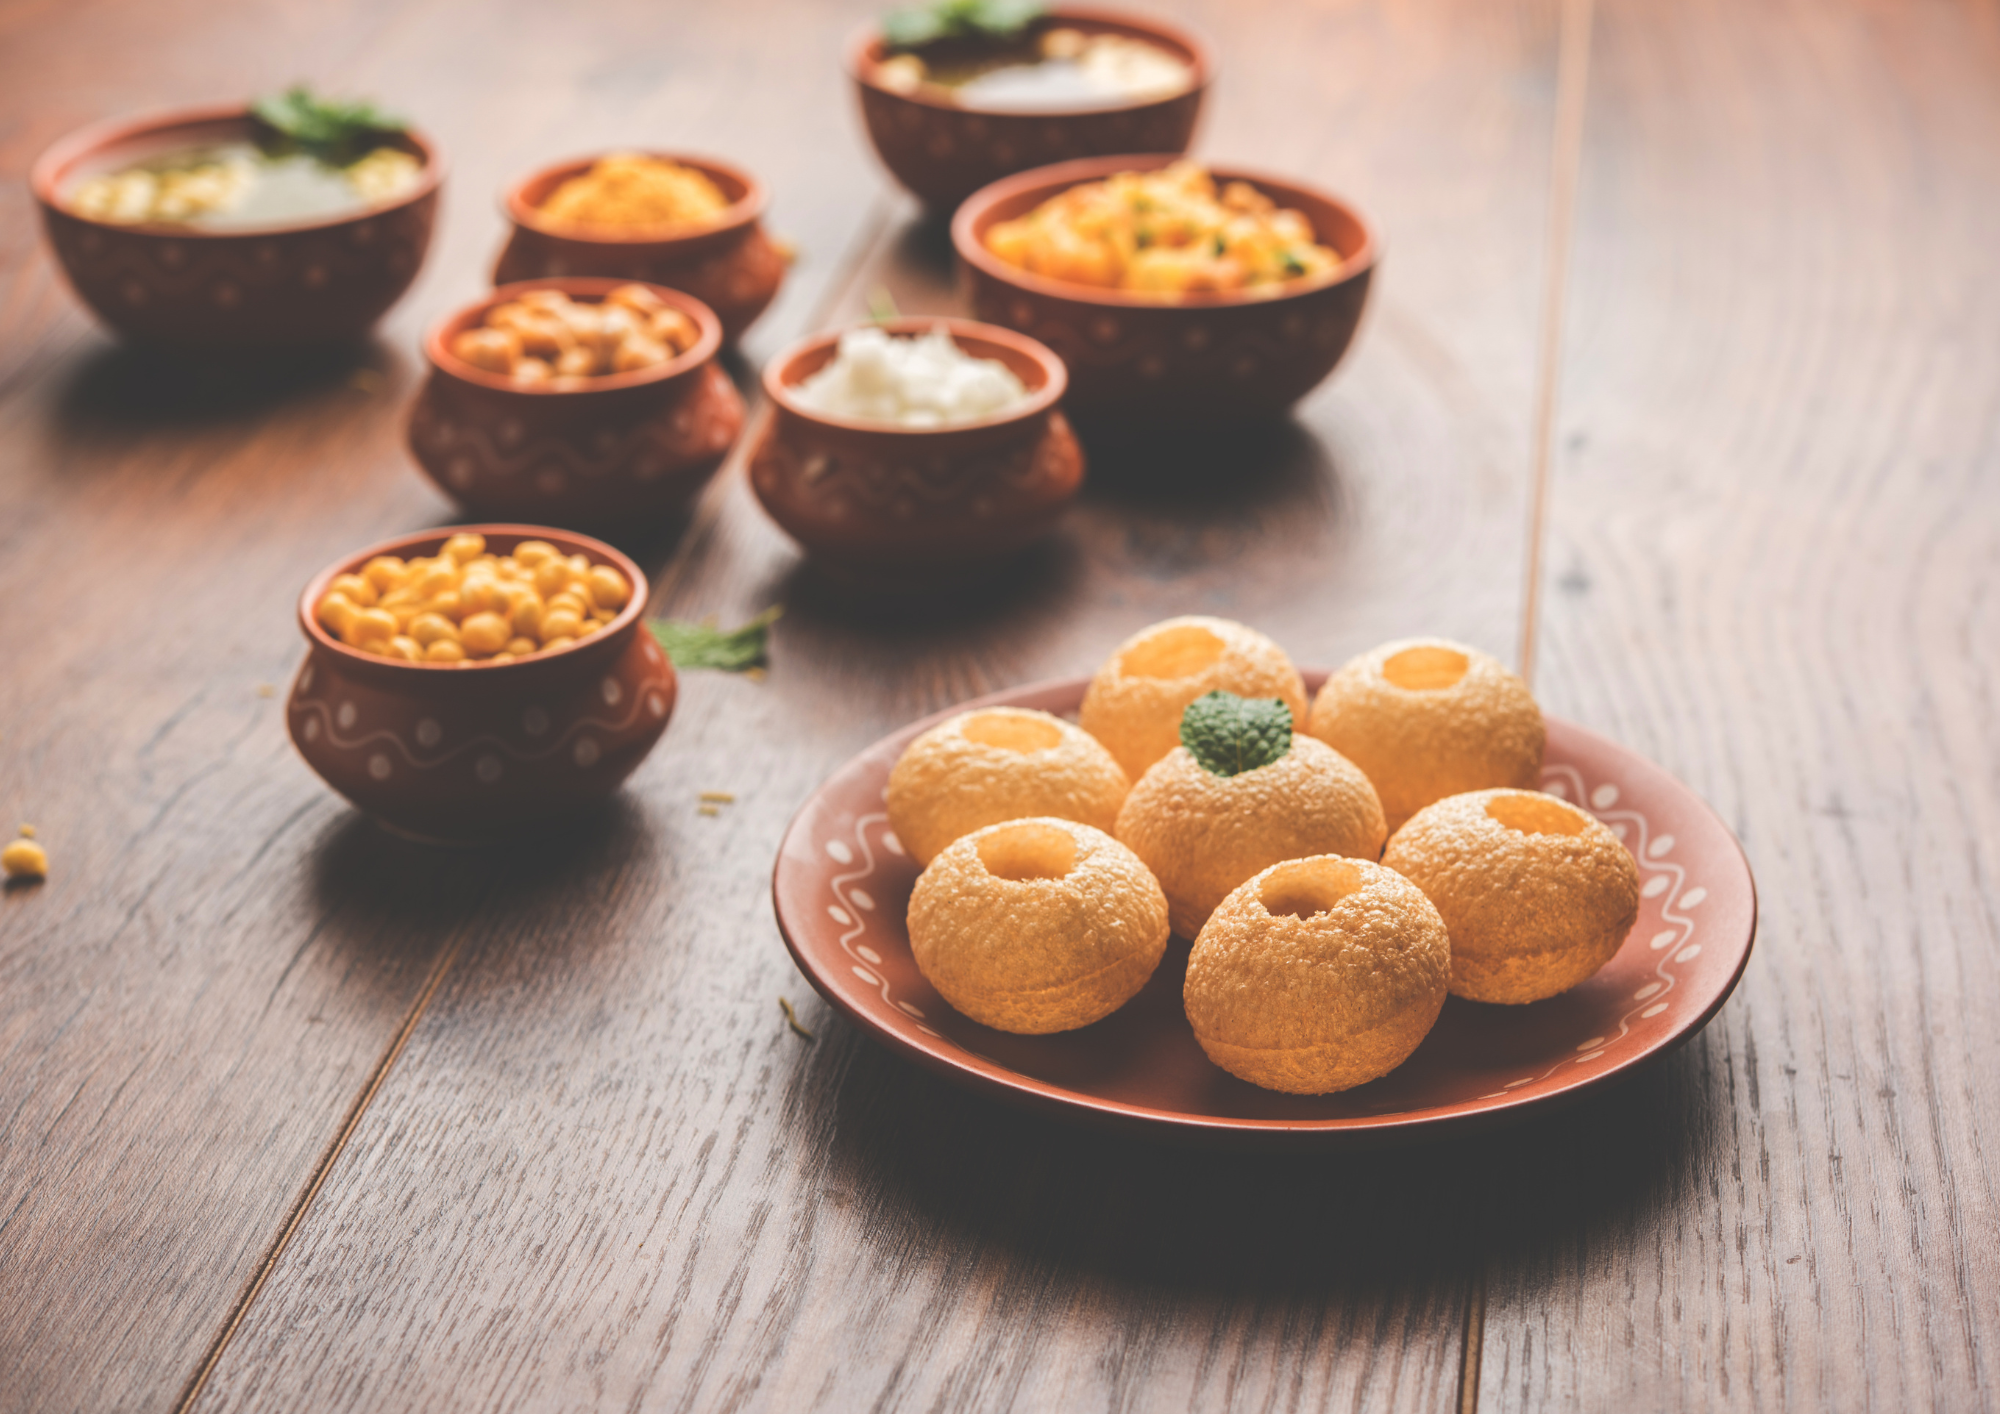
Pani Puri, also known as Golgappa or Phuchka, is one of India’s most beloved street foods. This iconic dish, characterized by its crispy, hollow puris filled with spicy and tangy water, is a favorite snack across the country. Pani Puri is not just a food item; it’s a cultural experience that brings people together, whether on the streets or in the comfort of their homes. If you’ve ever wanted to recreate the magic of Pani Puri at home, this detailed recipe will guide you every step of the way.
In this blog, we will delve into the history of Pani Puri, explore its cultural significance, and provide a step-by-step recipe to help you make this popular street food at home. Moreover, we’ll discuss variations, nutritional benefits, and tips for storing leftovers. Whether you’re new to Indian cuisine or a seasoned cook, this guide will help you master the art of making Pani Puri.
The History and Cultural Significance of Pani Puri
Pani Puri’s origins date back to the Indian subcontinent, where it has evolved over centuries to become a staple of street food culture. Known by different names in various regions—Golgappa in the north, Phuchka in the east—Pani Puri has a universal appeal. It symbolizes the diversity of Indian culinary traditions and the joy of communal eating.
The cultural significance of Pani Puri goes beyond its ingredients. It is a dish that fosters social interactions, often served at family gatherings, parties, and street corners where people compete to see who can eat the most puris in one go. Additionally, this dish encapsulates the vibrant and diverse nature of Indian street food, making it a must-try for anyone looking to experience authentic Indian flavors.
For more insights into Indian street food culture, you can check out this detailed guide.
Essential Ingredients for Making Pani Puri at Home
Creating authentic Pani Puri at home requires a few essential ingredients, each contributing to the dish’s unique taste and texture. Here’s what you’ll need:
For the Puris:
- Semolina (Sooji/Rava): 1 cup
- All-Purpose Flour (Maida): 2 tablespoons
- Baking Soda: A pinch
- Water: As needed for kneading
- Salt: A pinch
- Oil: For deep frying
For the Pani (Spiced Water):
- Mint Leaves: 1 cup
- Coriander Leaves: 1/2 cup
- Green Chilies: 2-3 (adjust to taste)
- Tamarind Pulp: 2 tablespoons
- Chaat Masala: 1 tablespoon
- Black Salt (Kala Namak): 1/2 teaspoon
- Cumin Powder: 1 teaspoon
- Salt: To taste
- Cold Water: 4-5 cups
- Lemon Juice: 1 tablespoon (optional)
the Filling:
- Boiled Potatoes: 2 medium-sized, mashed
- Boiled Chickpeas: 1/2 cup
- Onion: 1 small, finely chopped
- Chaat Masala: 1 teaspoon
- Red Chili Powder: 1/2 teaspoon
- Salt: To taste
- Fresh Coriander Leaves: For garnishing
Optional Toppings:
- Sev (crispy gram flour noodles): For garnishing
- Sweet Tamarind Chutney: For drizzling (adds a sweet contrast)
Step-by-Step Guide to Making Pani Puri
Making Pani Puri at home might seem challenging, but with the right steps, it can be a fun and rewarding experience. Here’s how you can make this delicious street food in your kitchen.
1. Preparing the Puris:
- Mixing the Dough: Start by combining semolina, all-purpose flour, baking soda, and salt in a mixing bowl. Gradually add water and knead the mixture into a stiff dough. The dough should be firm but pliable. Cover it with a damp cloth and let it rest for 20-30 minutes.
- Rolling the Puris: After the dough has rested, knead it again briefly. Divide the dough into small portions and roll each portion into a thin circle, about 2 inches in diameter. Ensuring even thickness is key to making puris that puff up properly when fried.
- Frying the Puris: Heat oil in a deep frying pan over medium heat. Once the oil is hot, gently slide the rolled puris into the oil. Fry them until they puff up and turn golden brown. Remove and drain on paper towels. Let them cool and store them in an airtight container until ready to use.
2. Preparing the Pani (Spiced Water):
- Blending the Ingredients: In a blender, combine mint leaves, coriander leaves, green chilies, tamarind pulp, chaat masala, black salt, cumin powder, and regular salt. Add a little water and blend until smooth.
- Straining the Mixture: Pour the blended mixture into a large bowl and add cold water to it. Mix well and taste. Adjust the seasoning if necessary. For a tangier taste, you can add some lemon juice. Chill the pani in the refrigerator until ready to serve.
3. Preparing the Filling:
- Mixing the Ingredients: In a bowl, combine the mashed potatoes, boiled chickpeas, chopped onions, chaat masala, red chili powder, and salt. Mix well to ensure all the flavors are evenly distributed.
- Garnishing: Garnish the filling with freshly chopped coriander leaves if desired.
Assembling the Pani Puri
Now that the puris, pani, and filling are ready, it’s time to assemble your Pani Puri.
- Making the Puri Shells: Take a fried puri and gently crack open the top with your thumb to create a small hole. Be careful not to break the puri entirely.
- Adding the Filling: Spoon a small amount of the potato-chickpea filling into the puri. Additionally, you can add a little sev or sweet tamarind chutney for extra flavor.
- Dunking in the Pani: Dip the filled puri into the prepared pani, ensuring it gets fully submerged. Quickly pop it into your mouth and enjoy the burst of flavors that makes Pani Puri so irresistible!
For a more detailed video on making Pani Puri, check out this tutorial.
Tips for Perfecting Your Pani Puri
To ensure your homemade Pani Puri is as delicious as possible, keep these tips in mind:
- Dough Consistency: The dough for the puris should be firm but pliable. If it’s too soft, the puris won’t puff up properly when fried. However, if it’s too hard, they may turn out too thick and won’t have the desired crunch.
- Even Rolling: Ensure that the puris are rolled out evenly. Uneven puris may not puff up uniformly, and some might stay flat.
- Oil Temperature: The oil should be hot enough when frying the puris. If the oil is too cold, the puris will absorb too much oil and become greasy. On the other hand, if it’s too hot, they’ll brown too quickly without fully puffing up.
- Chilled Pani: Pani Puri is best enjoyed when the pani is cold. Make sure to chill the pani in the refrigerator for at least an hour before serving.
- Spice Level: Pani Puri is known for its spicy kick, but you can adjust the spice level to your preference. Reduce the number of green chilies or add more tamarind for a tangier flavor if you prefer less heat.
For more cooking tips and tricks, visit our Indian cooking tips blog.
Exploring Regional Variations of Pani Puri
Pani Puri is incredibly versatile, with several regional variations that offer different taste experiences:
1. Meetha Pani Puri:
- This variation includes sweet tamarind chutney in the pani, along with the usual spicy ingredients. The result is a delicious sweet and spicy flavor combination that adds a unique twist to traditional Pani Puri.
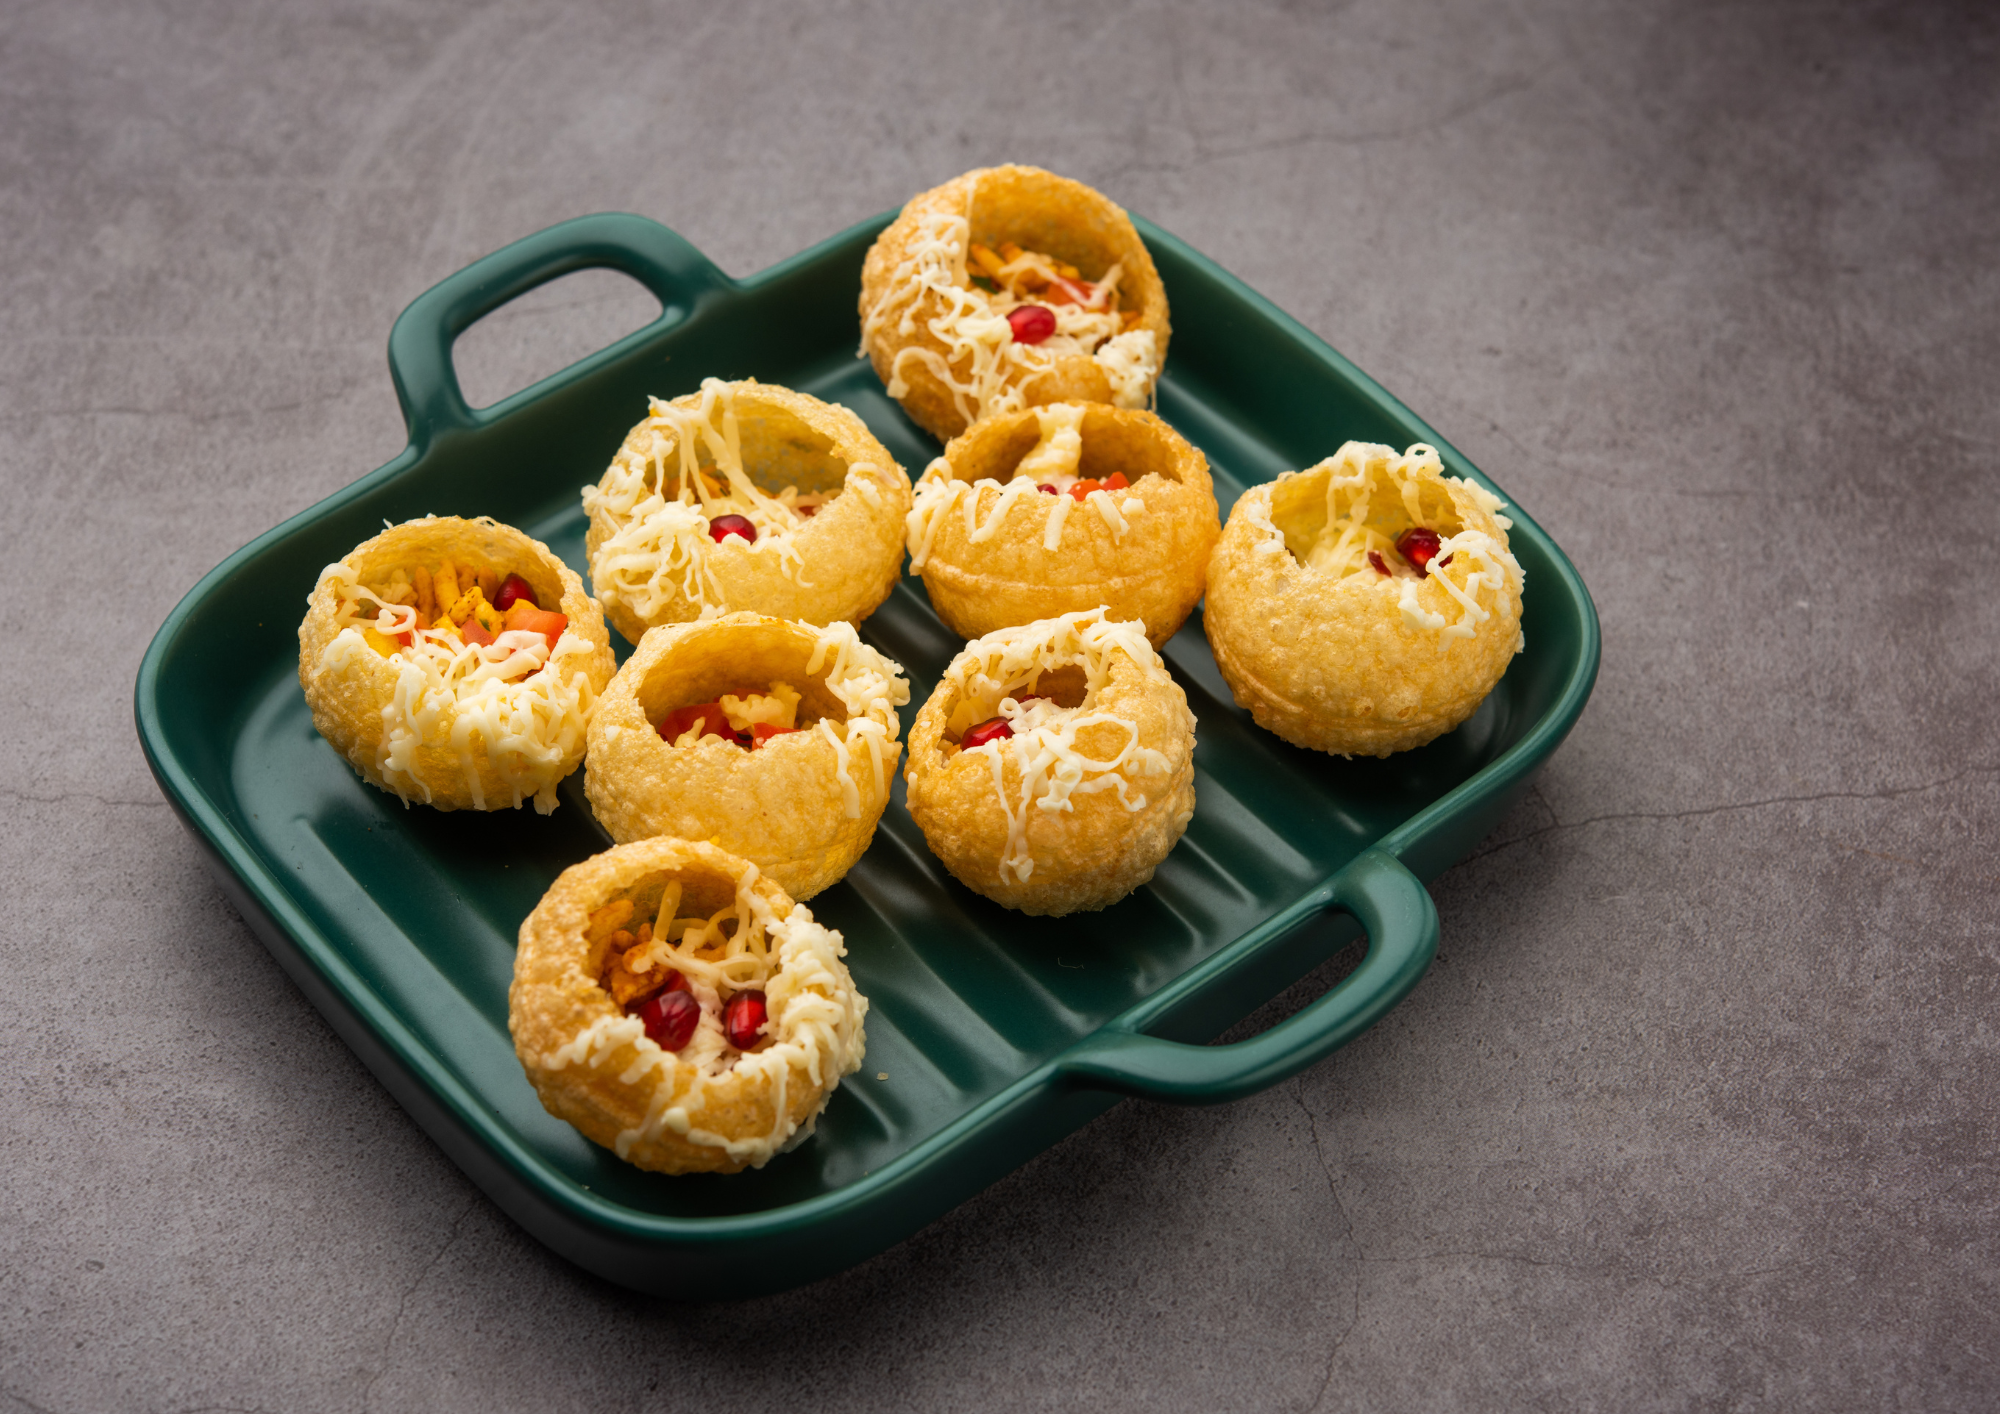
2. Dahi Puri:
- Instead of dipping the puris in spicy pani, this variation is filled with yogurt (dahi) and topped with various chutneys, sev, and spices. It’s a creamy and refreshing alternative to the classic Pani Puri.
3. Ragda Puri:
- In this variation, the filling consists of a warm, spiced white pea curry called ragda. It’s a heartier version of Pani Puri that’s popular in Maharashtra and adds a comforting element to the dish.
4. Aloo Puri:
- A variation where the filling is made primarily with spiced mashed potatoes. It’s a simpler version that’s often enjoyed in the northern regions of India, offering a different take on the traditional Pani Puri.
5. Mango Pani Puri:
- A unique twist on the traditional recipe, this variation incorporates mango pulp into the pani, giving it a sweet and tangy flavor that’s perfect for summer and adds a fruity twist to the Pani Puri experience.
For more variations and their origins, you can explore this article on regional Indian dishes.
Nutritional Insights and Health Benefits of Pani Puri
While Pani Puri is often seen as an indulgent street food, it can offer health benefits when prepared thoughtfully:
- Mint and Coriander: Both mint and coriander, key ingredients in the pani, are rich in antioxidants and have digestive properties. They add freshness to the Pani Puri while also aiding in digestion.
- Tamarind: Tamarind, a vital component of Pani Puri, is known for its tangy flavor and is rich in vitamin C and antioxidants. It helps in boosting immunity and improving digestion.
- Chickpeas: The chickpeas used in the filling are an excellent source of plant-based protein and fiber, making them a healthy addition to the Pani Puri.
- Potatoes: While potatoes are often seen as starchy and high in carbs, they provide a good source of potassium and vitamin C when consumed in moderation.
To make Pani Puri healthier, consider baking the puris instead of frying them. You can also reduce the amount of tamarind chutney and opt for a lower-sodium version of the pani. These small changes can make your Pani Puri a more nutritious option while retaining its delicious taste.
For more healthy Indian recipes, check out this collection.
Pairing Pani Puri with Other Indian Snacks
Pani Puri is often enjoyed as part of a larger Indian snack platter, known as “chaat.” Here are some other popular Indian snacks that pair well with Pani Puri:
- Bhel Puri: A mixture of puffed rice, sev, onions, tomatoes, and chutneys, Bhel Puri is a crunchy and tangy snack that’s a perfect complement to Pani Puri.
- Aloo Tikki: These crispy potato patties are often served with chutneys and yogurt, making them a great side dish to Pani Puri.
- Papdi Chaat: Made with crispy papdis (flat puris), boiled potatoes, chickpeas, yogurt, and chutneys, Papdi Chaat offers a creamy and crunchy contrast to the spicy Pani Puri.
- Dahi Bhalla: Soft lentil dumplings soaked in yogurt and topped with chutneys, Dahi Bhalla is a cooling dish that balances the heat of Pani Puri.
For more Indian snack ideas, visit this snack guide.
How to Store Pani Puri Leftovers
If you have leftover ingredients after making Pani Puri, here’s how you can store them:
- Puris: Store any leftover puris in an airtight container. They will stay crisp for a few days if kept in a cool, dry place, ensuring that your next Pani Puri experience is just as crunchy as the first.
- Pani: The spiced water can be refrigerated for up to 2-3 days. Make sure to keep it in a sealed container to maintain its freshness, so you can enjoy your Pani Puri with the same burst of flavor.
- Filling: The potato-chickpea filling can also be stored in the refrigerator for up to 2 days. Reheat it slightly before using it again, so your Pani Puri retains its delicious warmth.
For more tips on how to store and reuse ingredients, visit our kitchen storage tips.
Conclusion: A Culinary Adventure Worth Taking
Pani Puri is more than just a snack; it’s a culinary adventure that captures the essence of Indian street food. Making Pani Puri at home allows you to experience the joy of this beloved dish in your own kitchen, and it’s a great way to bring friends and family together.
Whether you’re a seasoned cook or a beginner, this Pani Puri recipe offers an opportunity to explore new flavors and techniques. So gather your ingredients, follow the steps, and enjoy the delightful crunch and burst of flavors that only Pani Puri can provide. Happy cooking!